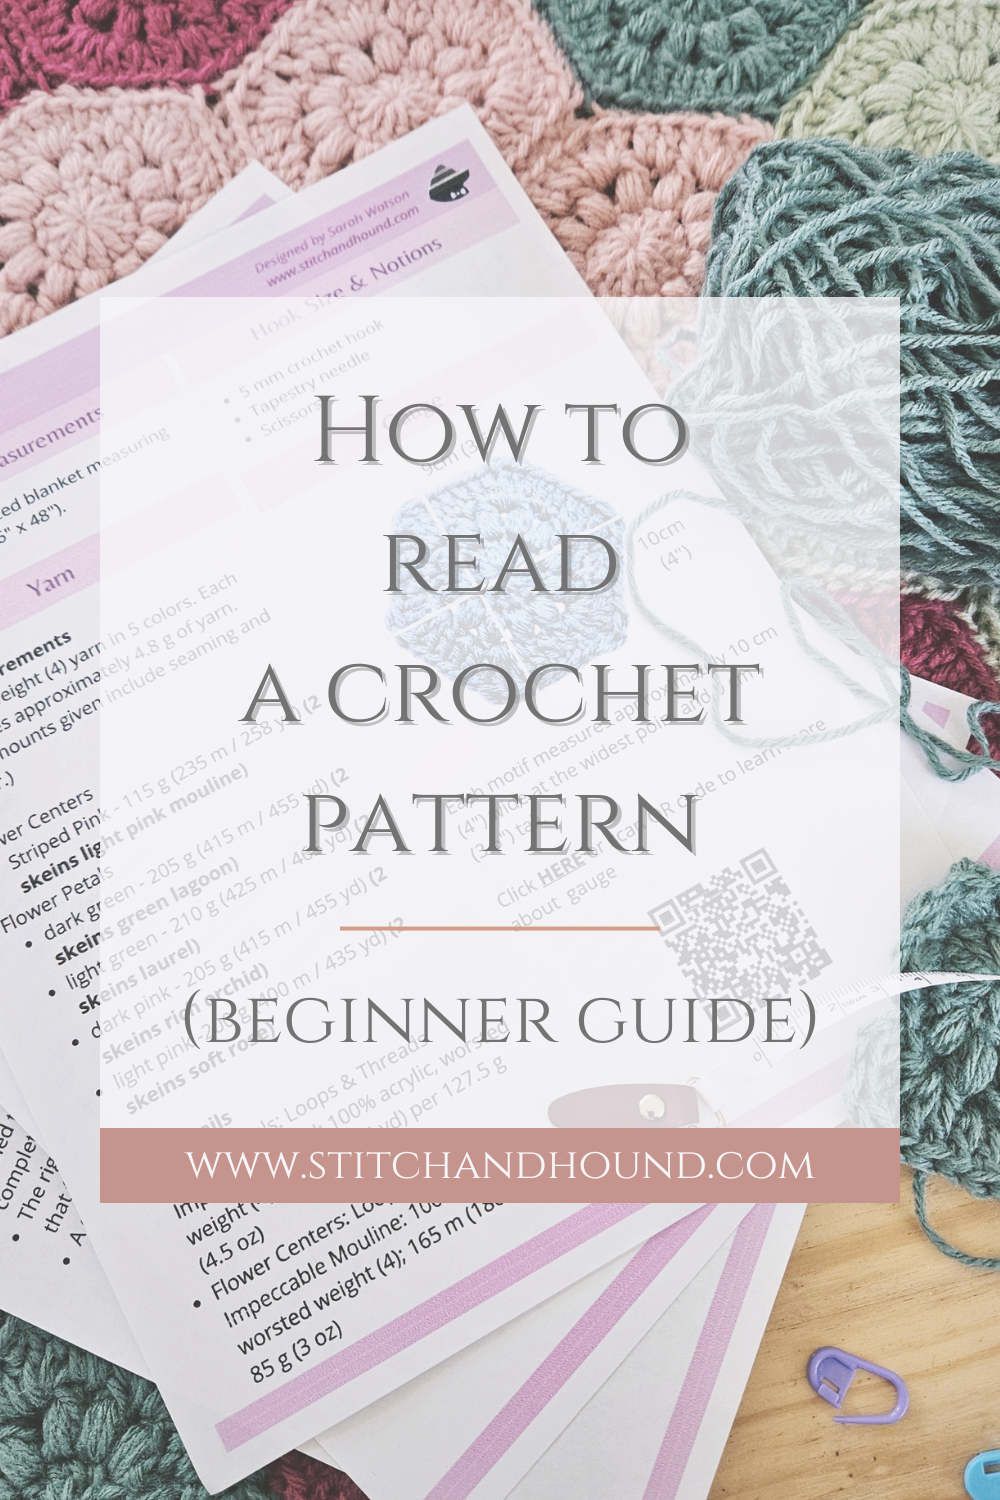
How to Read Crochet Patterns (Beginner Friendly Guide)
If you’ve ever opened a crochet pattern and felt overwhelmed, you are not alone.
Between abbreviations, symbols, and rows packed with instructions, patterns can feel like a completely different language at first. The good news is, once you understand how they’re structured, everything starts to make sense.
As a Craft Yarn Council (CYC) certified crochet teacher, I’ve helped many crocheters learn how to confidently read patterns. One thing that makes a big difference is understanding that most well-written patterns follow a standard structure and terminology.
When you know what to look for, patterns become much easier to read and much more enjoyable to follow.
In this guide, I’ll walk you through exactly how to read a crochet pattern step-by-step. First, PIN this tutorial to save it for reference later:
Just a heads-up: This blog post may contain affiliate links. Don't worry, though - these links are a win-win! They help support my site without costing you a penny extra. So, if you find something you love, clicking through won't just benefit me and my family, it'll also help you discover great products and resources.
Why Pattern Structure Matters
Crochet patterns are not random, they should be written using commonly accepted standards for:
Abbreviations
Stitch counts
Repeats and formatting
When you understand these patterns and conventions instructions become predictable and you spend less time second-guessing. Even if every designer has a slightly different style, the foundation is usually the same and you can move between patterns with confidence
What You’ll Learn in This Guide
How to read crochet abbreviations
How to follow row-by-row instructions
How to understand repeats and stitch counts
How to avoid common beginner mistakes
Crochet Abbreviations (The Key to Everything)
Most patterns use standard abbreviations, all of these abbreviations are listed in the Craft Yarn Council’s page on “Crochet Abbreviations Master List”. Learning these is the fastest way to improve your confidence.
Here are the most common ones:
ch - chain
sc - single crochet
hdc - half double crochet
dc - double crochet
tr - treble crochet
sl st - slip stitch
st(s) - stitch(es)
The list provided by the Craft Yarn Council is not exhaustive. Crochet design and blogging have grown rapidly in recent years, and designers are constantly creating new stitches, stitch patterns, and techniques.
That said, a well-written pattern will always define all abbreviations used within the pattern in an Abbreviations section. If a stitch is unique or worked in a non-standard way, it should also be explained in a Special Stitches section.
For example, there are many ways to create a puff stitch (ps), depending on the number of yarn overs and pull-throughs used. A well-written pattern will clearly specify how that stitch is worked for that specific design.
As you become more familiar with crochet patterns, these abbreviations will quickly become second nature.
Key Sections of a Crochet Pattern
In addition to the abbreviations and special stitches sections, most well-written crochet patterns include the following:
1. Difficulty Level
Pattern difficulty levels are not arbitrary. The Craft Yarn Council defines standard categories as:
beginner
easy
intermediate
complex
A well-written pattern will not only list the difficulty level but should also explain why. For example, simple stitches, minimal shaping, or more complex construction.
2. Sizes
This section includes all sizing information for the pattern.
For wearable items there should also be a note about intended ease, which refers to how the finished piece fits compared to actual body measurements. Ease can be:
Positive ease (looser fit)
Negative ease (fitted or snug)
Understanding ease is key to choosing the correct size and achieving the intended fit. For example, if a pattern states the garment is designed with 2" of positive ease, take your bust measurement and add 2" to determine which size to make.
3. Yarn
This section lists the yarn requirements, usually in grams, meters, and/or yards. It should also specify the exact yarn used for the sample shown in the pattern.
Pay close attention to:
Yarn weight
Fiber content
Both yarn weight and fiber content directly affect the drape, structure, and overall outcome of your project. Substituting yarn without considering these factors can significantly change how the finished piece looks and feels.
For example, a pattern that calls for a cotton or cotton-blend yarn will produce a very different result than one made with wool or acrylic. Cotton tends to have less elasticity and more structure, while wool and acrylic are often softer and more flexible.
Yarn also comes in a range of weights—from lace weight (1) to super bulky (7). Using a different weight than recommended will impact sizing, stitch definition, and drape, so it is important to match the specified yarn weight as closely as possible.
I have in-depth guides on both yarn weights and yarn fibers:
👉 yarn weight guide
4. Materials
This includes all tools needed to complete the project, such as:
Any additional notions (such as Polyfil for stuffies or buttons for cardigans)
Hook size plays a major role in achieving the correct gauge and finished look.
5. Gauge
Gauge tells you how many stitches and rows equal a specific measurement.
This section is essential, not optional. Gauge affects:
The final size of your project
The amount of yarn required
Skipping gauge is one of the most common causes of projects turning out too big, too small, or running out of yarn. Gauge is a larger topic that is broken down and explained in the simplest way possible here:
6. Pattern Notes
Do not skip this section.
Pattern notes include important details specific to the design, such as:
Construction methods
Whether turning chains count as stitches
Special techniques or non-standard instructions
If something in the pattern feels confusing, there is a very good chance the answer is in the notes section.
Now that we have the basic parts of a pattern down, let’s get into actually reading a crochet pattern.
How to Read Crochet Instructions
Let’s break down a typical row:
Row 1: Ch 20, sc in 2nd ch from, sc across (19 sts)
What this means:
Chain 20
Skip the first chain
Single crochet across
You should have 19 stitches total
The number in parentheses is your stitch count, this is how you check your work.
Stitch counts will be provided at the end of each row. In some cases, when the stitch count remains the same throughout a larger section (or the entire pattern) to save space and improve readability, a designer may note this as (19 sts throughout).
Parentheses, Asterisks, and Repeats
Patterns use symbols to keep instructions concise.
Asterisks * *
Used for:
repeats → *sc, dc* repeat across
Everything between asterisks indicates a repeat section. This sequence is worked either across the entire row, around the round, or for a specified number of repeats.
For example, *sc, dc*rep a total of 5 times means you work a single crochet followed by a double crochet, and repeat that sequence five times total.
Double asterisks ** can be used inside a repeat section to show that the final repeat is not worked in full.
For example:
*sc,** dc* repeat across, ending last repeat at **
This means you work single crochet, then double crochet, repeating across the row. However, on the final repeat, you stop after the single crochet and do not complete the final double crochet, ending the row with a single crochet instead.
Parentheses ( )
Used for:
Stitch counts → (24 sts)
Grouped stitches → (dc, ch 1, dc)
Repeats → (dc, sc) repeat across
Besides listing stitch counts at the end of each instruction, parentheses most commonly group stitches that are worked into the same stitch or space. For example, (dc, ch 1, dc) in next st means a double crochet, single crochet, and double crochet are all worked into the same stitch, in that order.
In modern pattern writing, asterisks (*) are more commonly used to denote repeated sections, but parentheses can still be used. Check the pattern abbreviations section to see how a designer is choosing to use parenthesis.
Turning Chains Explained
Turning chains help bring your yarn up to the correct height for the next row.
General guide:
sc → ch 1
hdc → ch 2
dc → ch 3
tr → ch 4
Some patterns count the turning chain as a stitch, some do not, always check the notes. Typically a ch 1 and ch 2 do not count as a single crochet or double crochet stitch, while a ch 3 and ch 4 typically do count as a double crochet or treble crochet stitch.
Reading Stitch Counts (And Why They Matter)
At the end of rows, you’ll often see:
(36 sts)
This tells you how many stitches you should have.
If your count is off:
You may have added or skipped stitches
Fixing it early saves time later
US vs UK Crochet Terms
One of the most common beginner mistakes is mixing terminology. The US and UK use slightly different crochet terminology. In general, UK stitches are one step taller in naming than US stitches. In the following list US terminology is on the left, and UK on the right:
sc (single crochet) → dc (double crochet)
hdc (half double crochet) → htr (half treble crochet)
dc (double crochet) → tr (treble crochet)
tr (treble crochet) → dtr (double treble crochet)
Always check which version the pattern uses before starting, this should be listed in the Notes or Pattern Abbreviations section
Beginner Tips for Following a Crochet Pattern
Read the pattern all the way through before starting
Break instructions into small steps
Use stitch markers to track repeats or rows if necessary
Highlight or underline key sections
Check your stitch count often
These small habits make a big difference and you will get faster with practice.
What to Do If a Pattern Doesn’t Make Sense
Even experienced crocheters run into confusing instructions.
Here’s how to work through it:
Read the step slowly, one part at a time
Look for repeat sections
Check the stitch count for clues
Reference the pattern notes
Look for a video tutorial if available
It’s worth keeping in mind that sometimes the issue isn’t on your end. Crochet design has grown rapidly in recent years, and not every pattern you come across will follow consistent writing standards or have been thoroughly tested.
If you are just starting out, it helps to stick with patterns from established, trusted crochet designers. Be cautious with images found on Pinterest that look overly smooth or highly detailed, as many of these are AI-generated and may not correspond to a real, workable pattern.
A good way to find reliable designers is through Instagram. Look through their post history to see a consistent body of work, check for an engaged following, and read comments or reviews when available. You can also discover trusted designers through blog hops, where multiple established designers collaborate to offer free, time-limited patterns.
Final Thoughts
Learning to read crochet patterns takes practice, but once it clicks, it opens up endless possibilities. You will go from following tutorials to confidently making anything, from simple scarves to detailed garments.
Ready to Practice?
If you want to put this into action, try one of my beginner-friendly patterns here:
👉 May Day Flower Purse