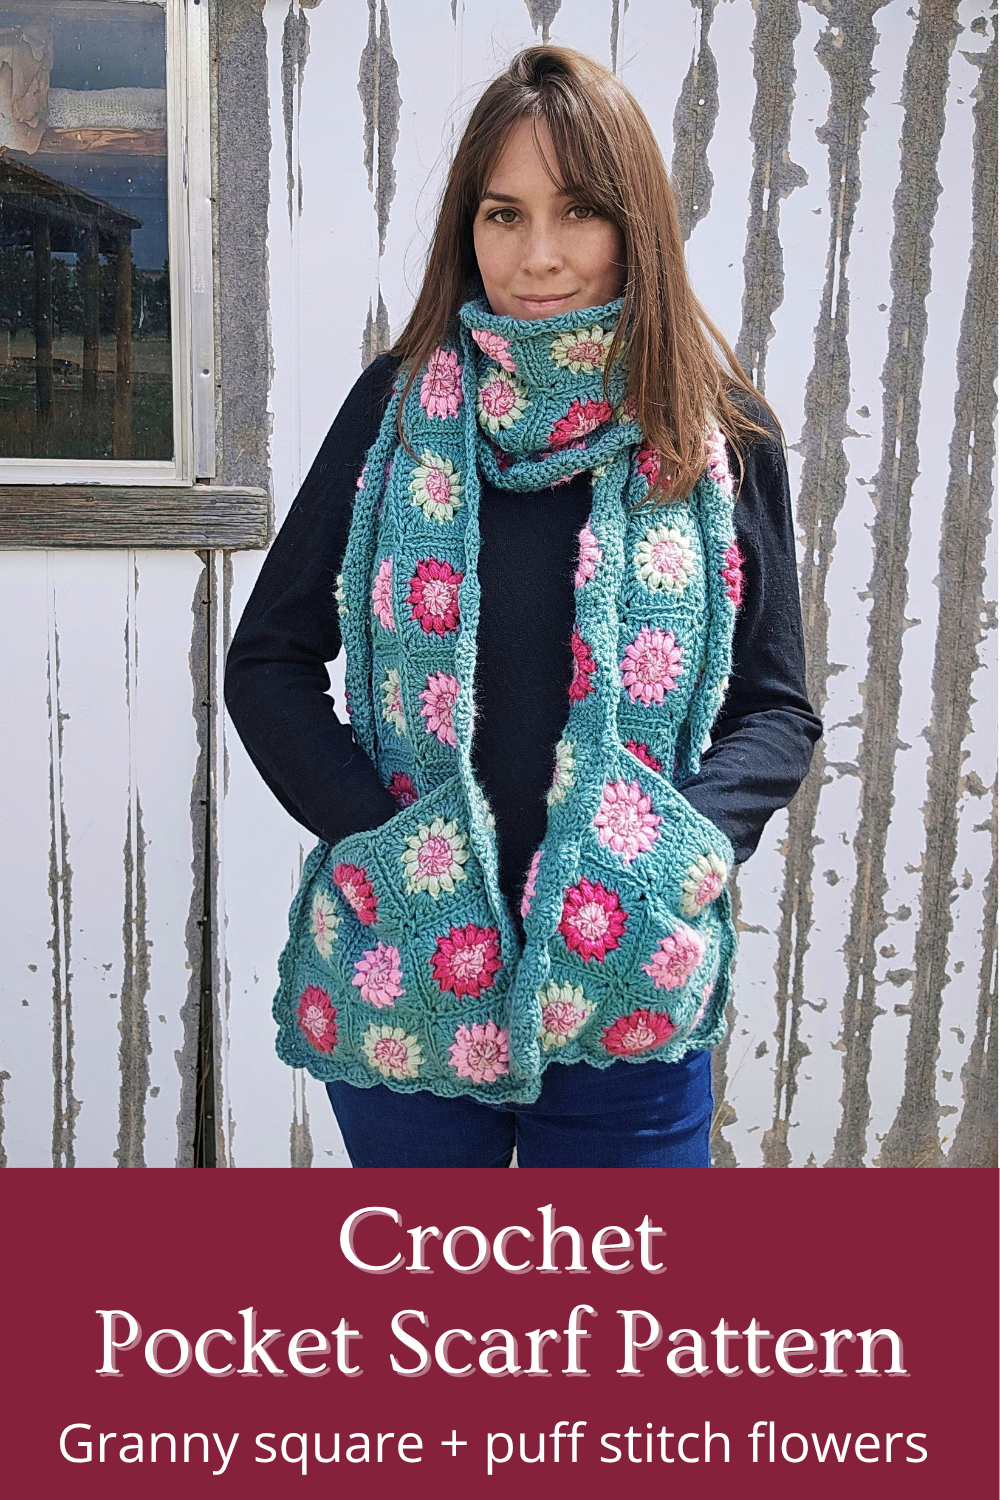
Easy Crochet Pocket Scarf (Granny Square Puff Stitch Pattern)
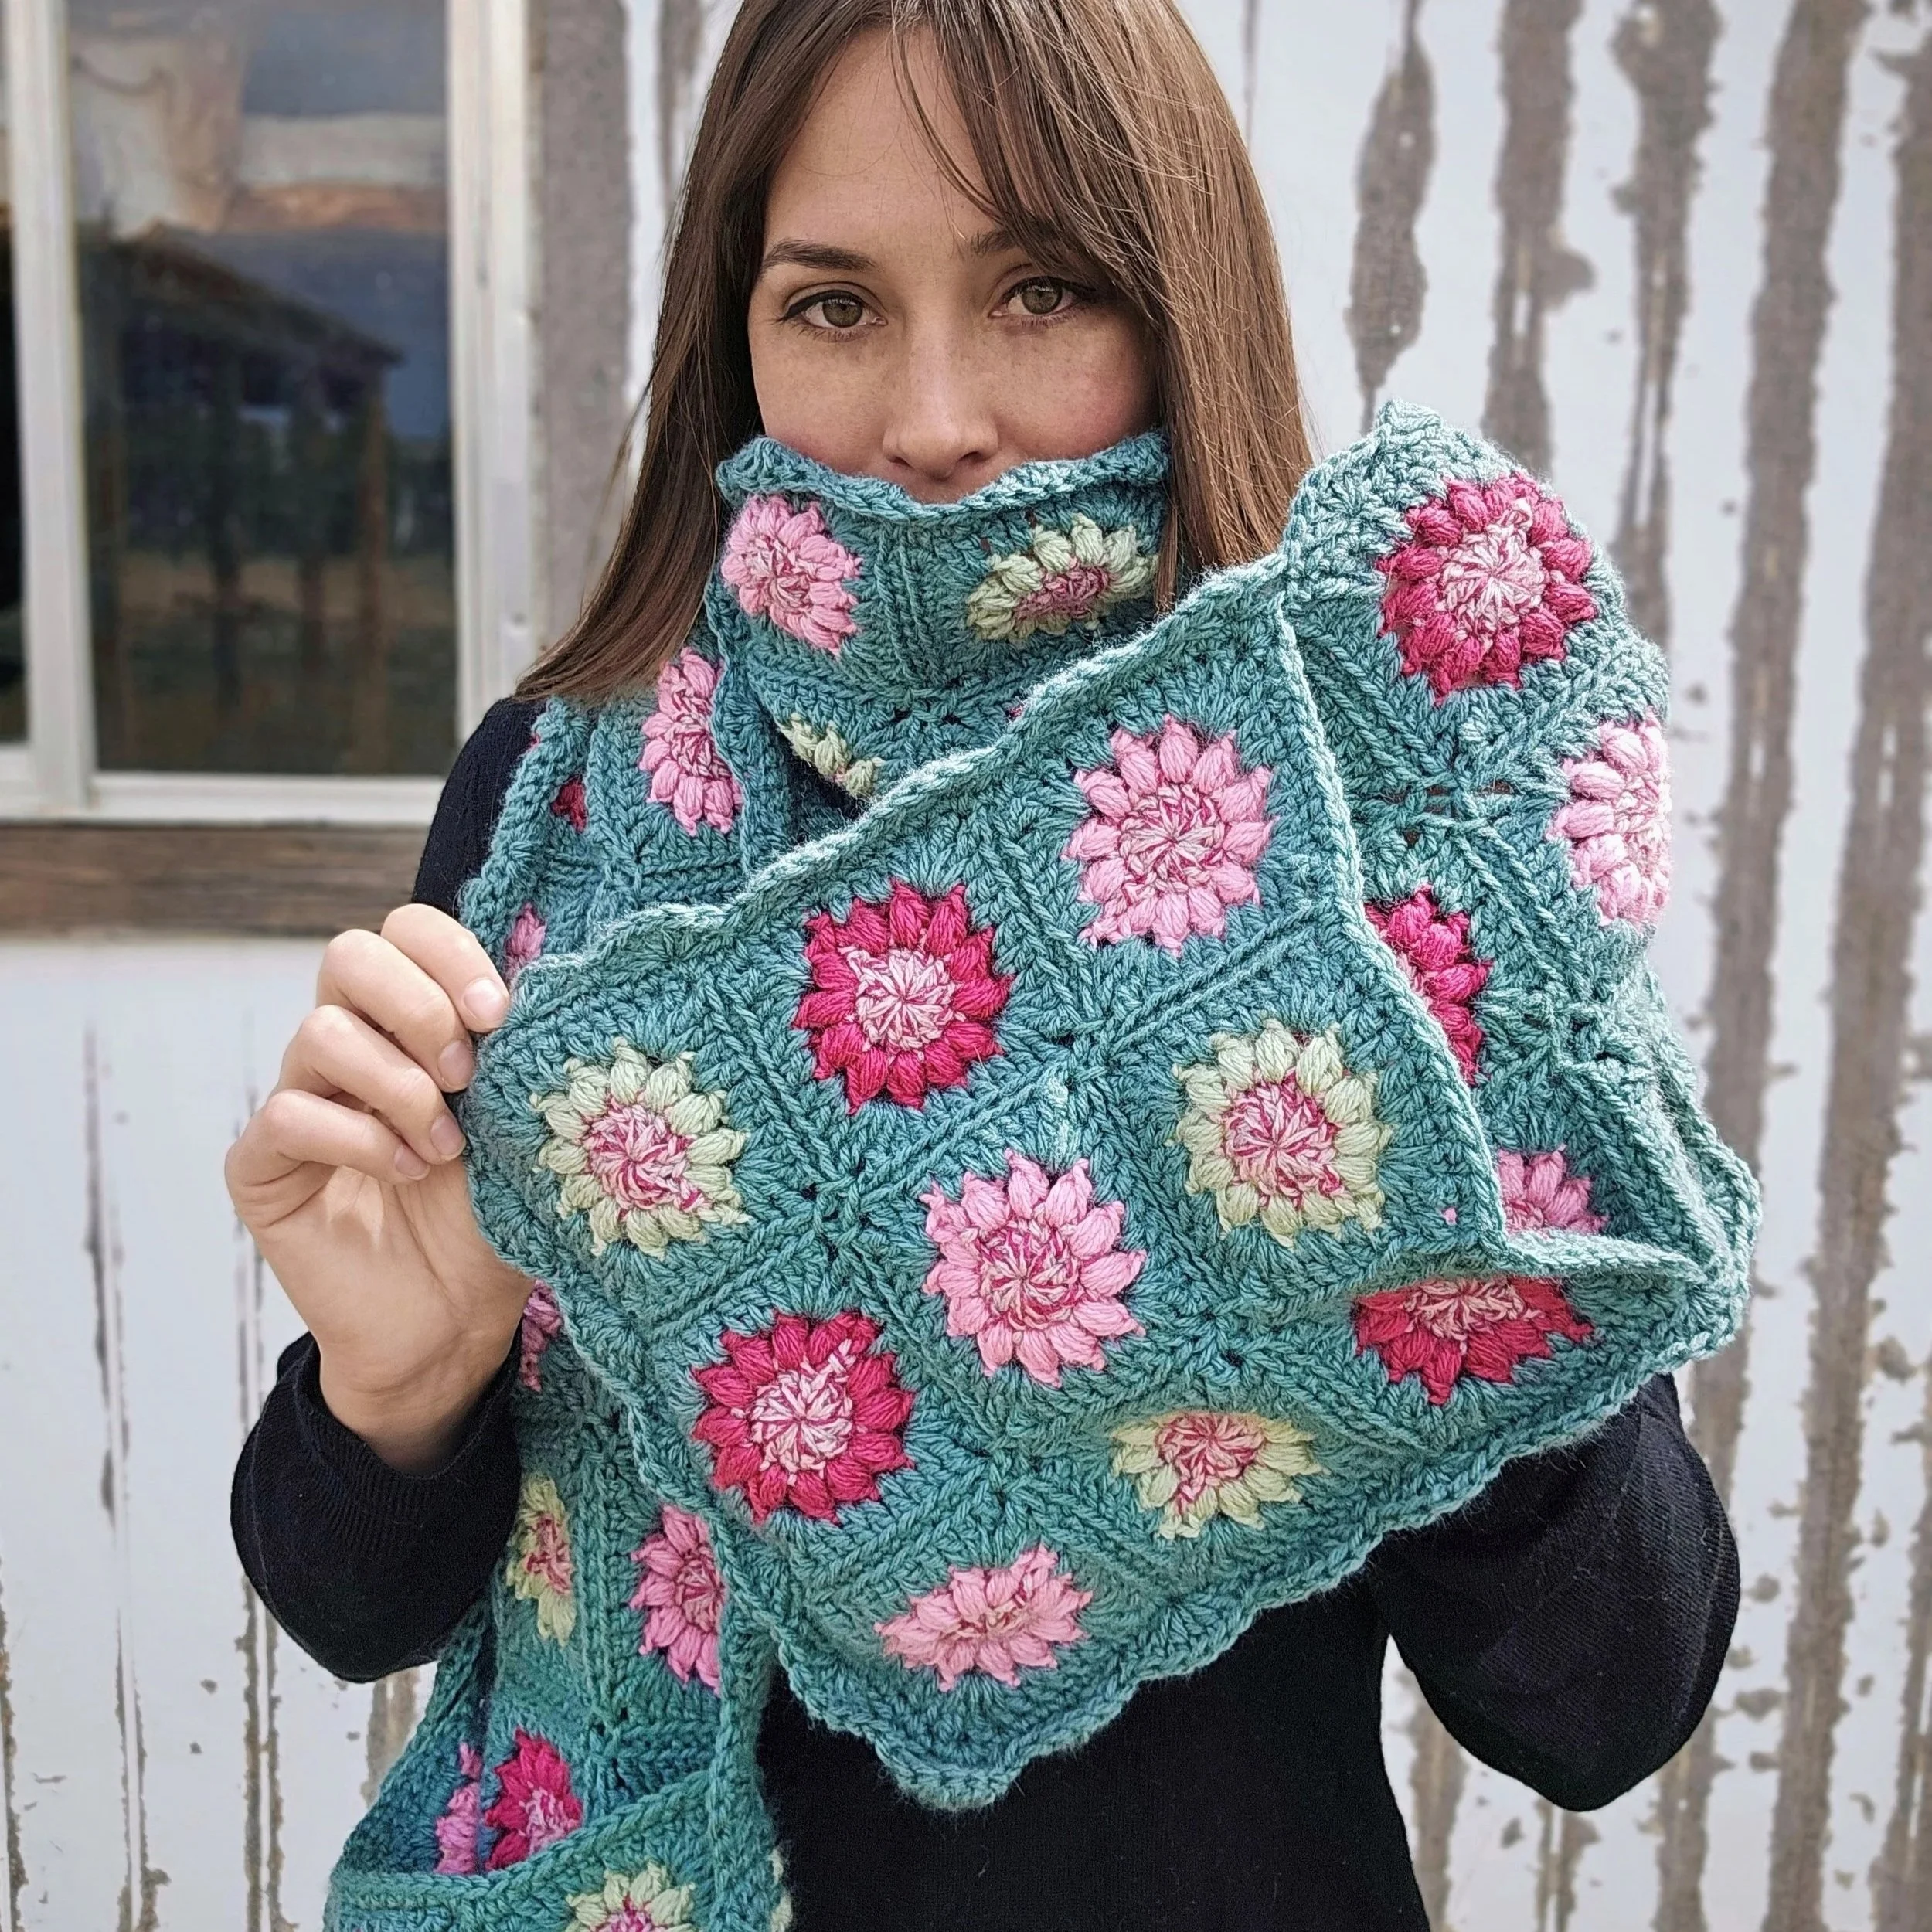
If you’re looking for a cozy, eye-catching project that’s as practical as it is beautiful, this crochet pocket scarf is about to become a favorite. Made from granny square motifs featuring puff stitches that look like little flowers, this oversized scarf combines texture, warmth, and function with built-in pockets at each end. It’s perfect for layering in the colder months, gifting, or even selling at craft fairs. The modular construction of the scarf makes it a fun, approachable project whether you’re newer to crochet or just want something relaxing to work on.
Remeber to PIN this tutorial for later:
Just a heads-up: This blog post may contain affiliate links. Don't worry, though - these links are a win-win! They help support my site without costing you a penny extra. So, if you find something you love, clicking through won't just benefit me and my family, it'll also help you discover great products and resources.
Purchase the ad-free pattern
Upgrade to the ad-free, printable PDF
What You’ll Love About This Crochet Pocket Scarf
This crochet pocket scarf is the perfect mix of cozy, functional, and beautiful design. The oversized fit makes it warm and comfortable to wear, while the built-in pockets add everyday practicality, perfect for keeping your hands warm or holding small essentials on chilly days.
The scarf is made using granny square motifs with puff stitch details that create a soft floral texture, giving it a unique, handcrafted look that stands out from basic scarves. It’s also a relaxing, modular project, so you can enjoy making it one square at a time without feeling overwhelmed by a large project.
Whether you’re making it for yourself, gifting it to someone special, or adding it to your craft fair inventory, this scarf is designed to be both enjoyable to create and loved for years to come.
Hook Size & Notions
Yarn for This Crochet Pocket Scarf
Yarn Requirements
Flower Centers/Rnd 1
87 g (195 yds/177 m)
Worked in Light Pink Mouline
Flower Petals/Rnd 2
87 g total (195 yds/177 m)
Worked in Laurel, Rich Orchid, and Soft Rose
If using a custom color palette for the flower petals (Round 2): Divide the total petal yarn equally among the number of colors used.
Motif Borders/Rnd 3
261 g (583 yds/532 m)
Worked in Green Lagoon
Seaming
20 g (45 yds/41 m)
Worked in Green Lagoon
Total: 455 g (1,017 yds/928 m)
Yarn Details
Loops & Threads Impeccable Yarn: 100% acrylic, worsted weight (4); 260 m (285 yd) per 127.5 g (4.5 oz)
Yarn Substitutions
1. Knit Picks Wool of the Andes Worsted
A great budget natural fiber yarn! Sturdy 100% wool yarn with excellent stitch definition, perfect for textured stitches like granny squares and puff stitches. It works beautifully for scarves, accessories, and cozy handmade garments.
2. Jimmy Beans Wool Malabrigo Worsted
A premium worsted-weight merino wool known for its ultra-soft texture and rich, hand-dyed colorways. This yarn gives your project a more luxurious drape while still holding stitch definition well.
This one is my favorite worsted weight yarn! An easy-access, budget-friendly worsted yarn with a soft acrylic blend and subtle heathered tones. It’s widely available and very beginner-friendly, making it perfect for large projects or craft fair inventory.
Finished Measurements
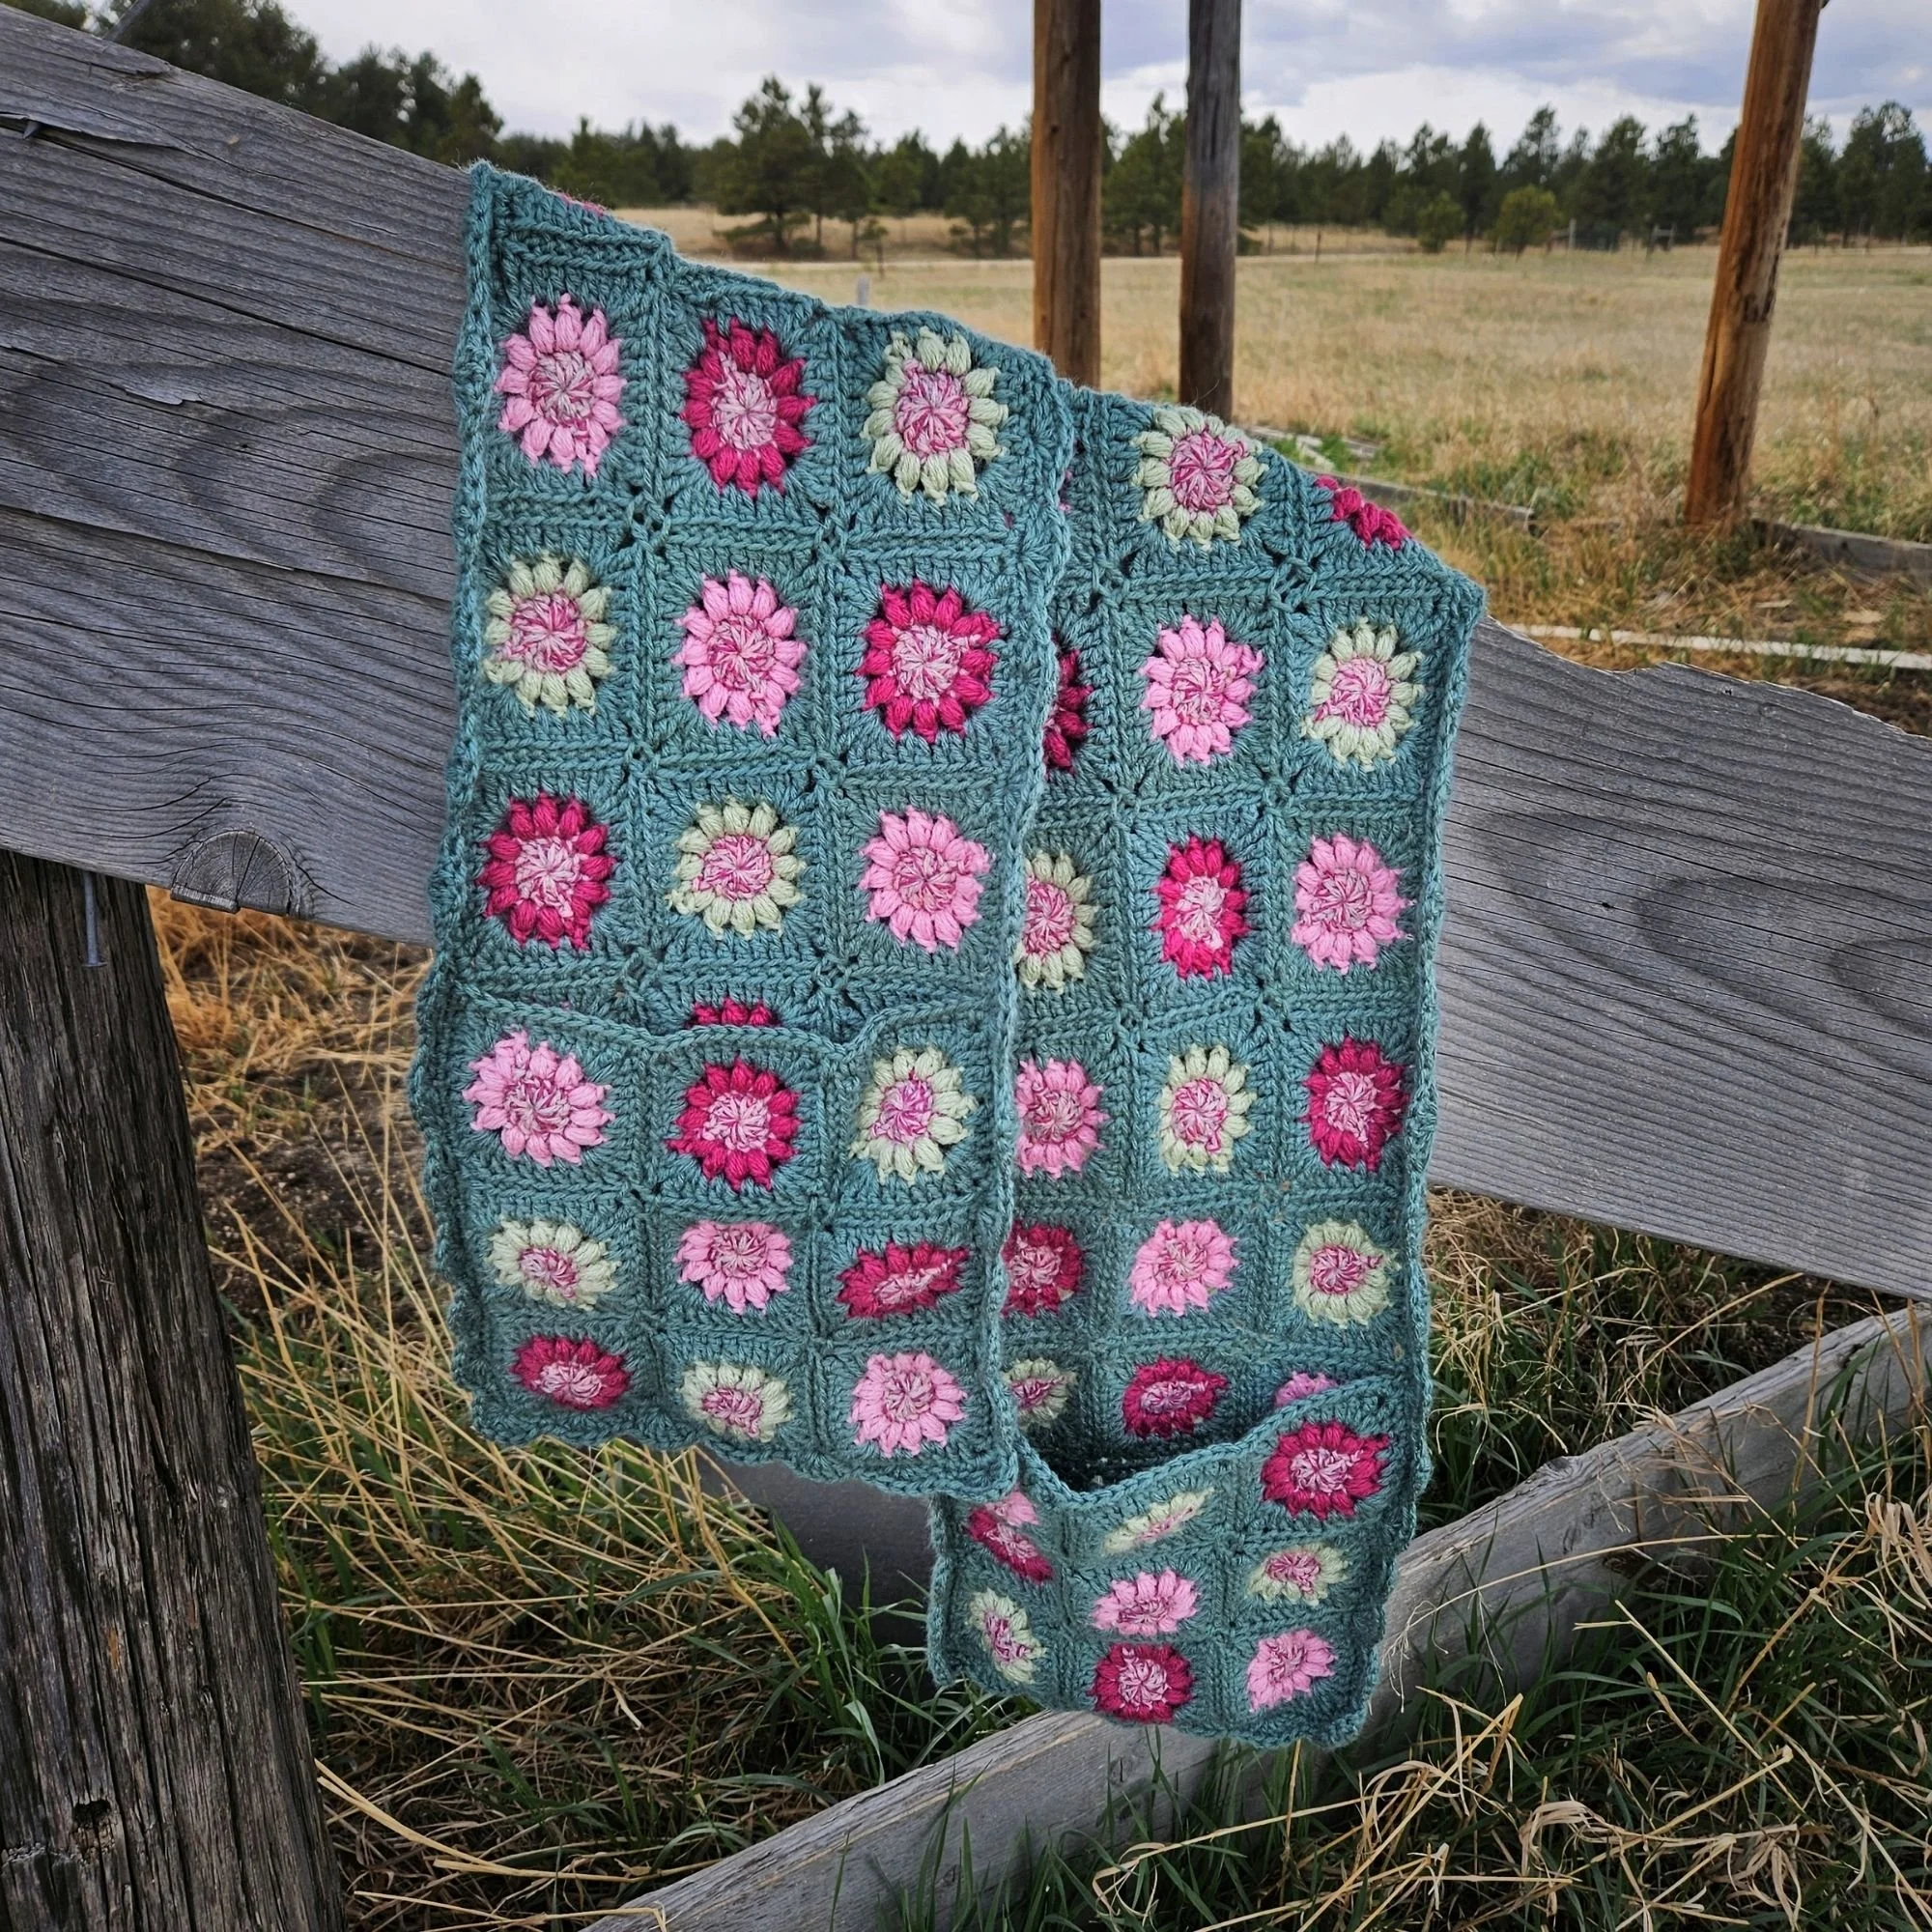
The scarf measures 26 cm (10") across and 205 cm (80") long (including the scalloped border).
Gauge for This Pattern
Each motif measures approximately 8 cm (3") by 8 cm (3").
Learn about crochet pattern gauge here.
Pattern Difficulty Level
This pattern is rated EASY. Simple stitches are used and a video tutorial is provided.
Pattern Abbreviations
BLO - back loop only
ch(s) - chain(s)
dc - double crochet
ps - puff stitch
rep - repeat
rnd - round
sc - single crochet
sk - skip
sl st - slip stitch
sp(s) - space(s)
st(s) - stitch(s)
tr - treble (triple) crochet
yo - yarn over
( ) - work the group of stitches all in the same stitch or space
** - repeat instructions between asterisks as many times as directed
(These are US crochet terms from the Craft Yarn Council)
Special Stitches (Puff Stitch Granny Square)
How to Make a Magic Circle
The magic circle is an essential crochet technique that helps eliminate holes in projects worked in the round. If you’re not familiar with it yet, I have a full blog post and a step-by-step video tutorial to guide you through the process.
Invisible Join
1. Cut the working end of your yarn and pull it up and through the last stitch that was worked.
2. Thread the tail of yarn through a tapestry needle.
3. Skip the first stitch, insert your tapestry needle into the second stitch from front to back through both loops of the stitch, pull yarn through.
4. Insert your tapestry needle from front to back into the back loop only of the stitch the yarn is originating from, pull yarn through.
5. Securely weave in your ends.
I have full video tutorial and blog post on how to create an invisible join.
Puff Stitch (ps)
1. Yo, insert hook into st, yo, pull up a loop (3 loops on hook).
2. Yo, insert hook into same st, yo, pull up a loop (5 loops on hook).
3. Yo, insert hook into same st, yo, pull up a loop (7 loops on hook).
4. Yo, pull through 6 loops on hook (2 loops on hook).
5. Yo, pull through 2 loops on hook.
Treble/Triple Crochet (tr)
1. Yarn over twice.
2. Insert hook into the indicated stitch.
3. Yarn over and pull up a loop (4 loops on hook).
4. Yarn over and pull through first 2 loops on hook (3 loops on hook).
5. Yarn over and pull through first 2 loops on hook (2 loops on hook).
6. Yarn over and pull through the remaining 2 loops.
Video Tutorial for the Pocket Scarf
Notes Before You Begin
The scarf is constructed from individual square motifs, which are seamed together after all motifs are completed.
The right side of each motif is the side that faces you while you are working it.
A chain 3 at the beginning of a round or row counts as one double crochet.
Unlock Your Free Pattern with Grow.me!
Want to access this free crochet pattern? Simply sign up for a Grow.me account with your email address!
By signing up, you’ll get access to this pattern and future free ones, plus updates on new designs and crochet tips. It’s a great way to stay in the loop and support my work, all while enjoying awesome crochet patterns! It's super quick and easy—just follow these steps:
Enter Your Email
Type in your email and click “Unlock Pattern.” That’s it!Check Your Inbox
You might get a quick confirmation email—just click the link to finalize your account.Start Crocheting
Once you’re signed up, you can view the pattern and start crafting right away!
Please note: Grow.me manages all account-related issues, including password resets. I do not have access to help with lost passwords, so please make sure you keep your account information safe!
How to Crochet a Granny Square Pocket Scarf (Free Pattern)
Share Your Work!
You’ve put in a lot of effort to create your Meadows Pocket Scarf, and you should be proud of your achievement! Share your pictures using #stitchandhoundcrochet to connect with the community and receive support and feedback. Don’t forget to check out the social links below!
Pattern Support
If you have any questions or need a little extra help with your Meadows Pocket Scarf, don’t hesitate to reach out! Join the Stitch and Hound Facebook group! for pattern support, tips, and a wonderful community of fellow crocheters. It’s the perfect place to ask questions, share your progress, and connect with others who are crafting along with you. I’m there to offer help and support every step of the way!