How to Crochet a Slip Stitch (sl st): Step-by-Step Beginner Tutorial
Welcome to Learn to Crochet!
This lesson is part of my Learn to Crochet email course, where I walk you through the fundamentals of crochet step by step while you make your own market bag.
If you're following along with the email course, this is Week 7. If you found this lesson on your own, welcome! You can work through the lessons at your own pace or join the free email course to have each lesson delivered to your inbox.
Let's get started!
You've made it to the final foundational crochet stitch: the slip stitch (sl st).
Unlike the other stitches you've learned, a slip stitch is very short and doesn't add much height to your work. It's mainly used to join, move across, or finish crochet, rather than build rows of fabric.
You'll commonly see slip stitches used to join rounds, join pieces of crochet, move your hook to a different location, and create decorative details.
Watch the Video Tutorial
Watch the video below, then follow along with the written instructions and photos while you practice.
Before We Begin
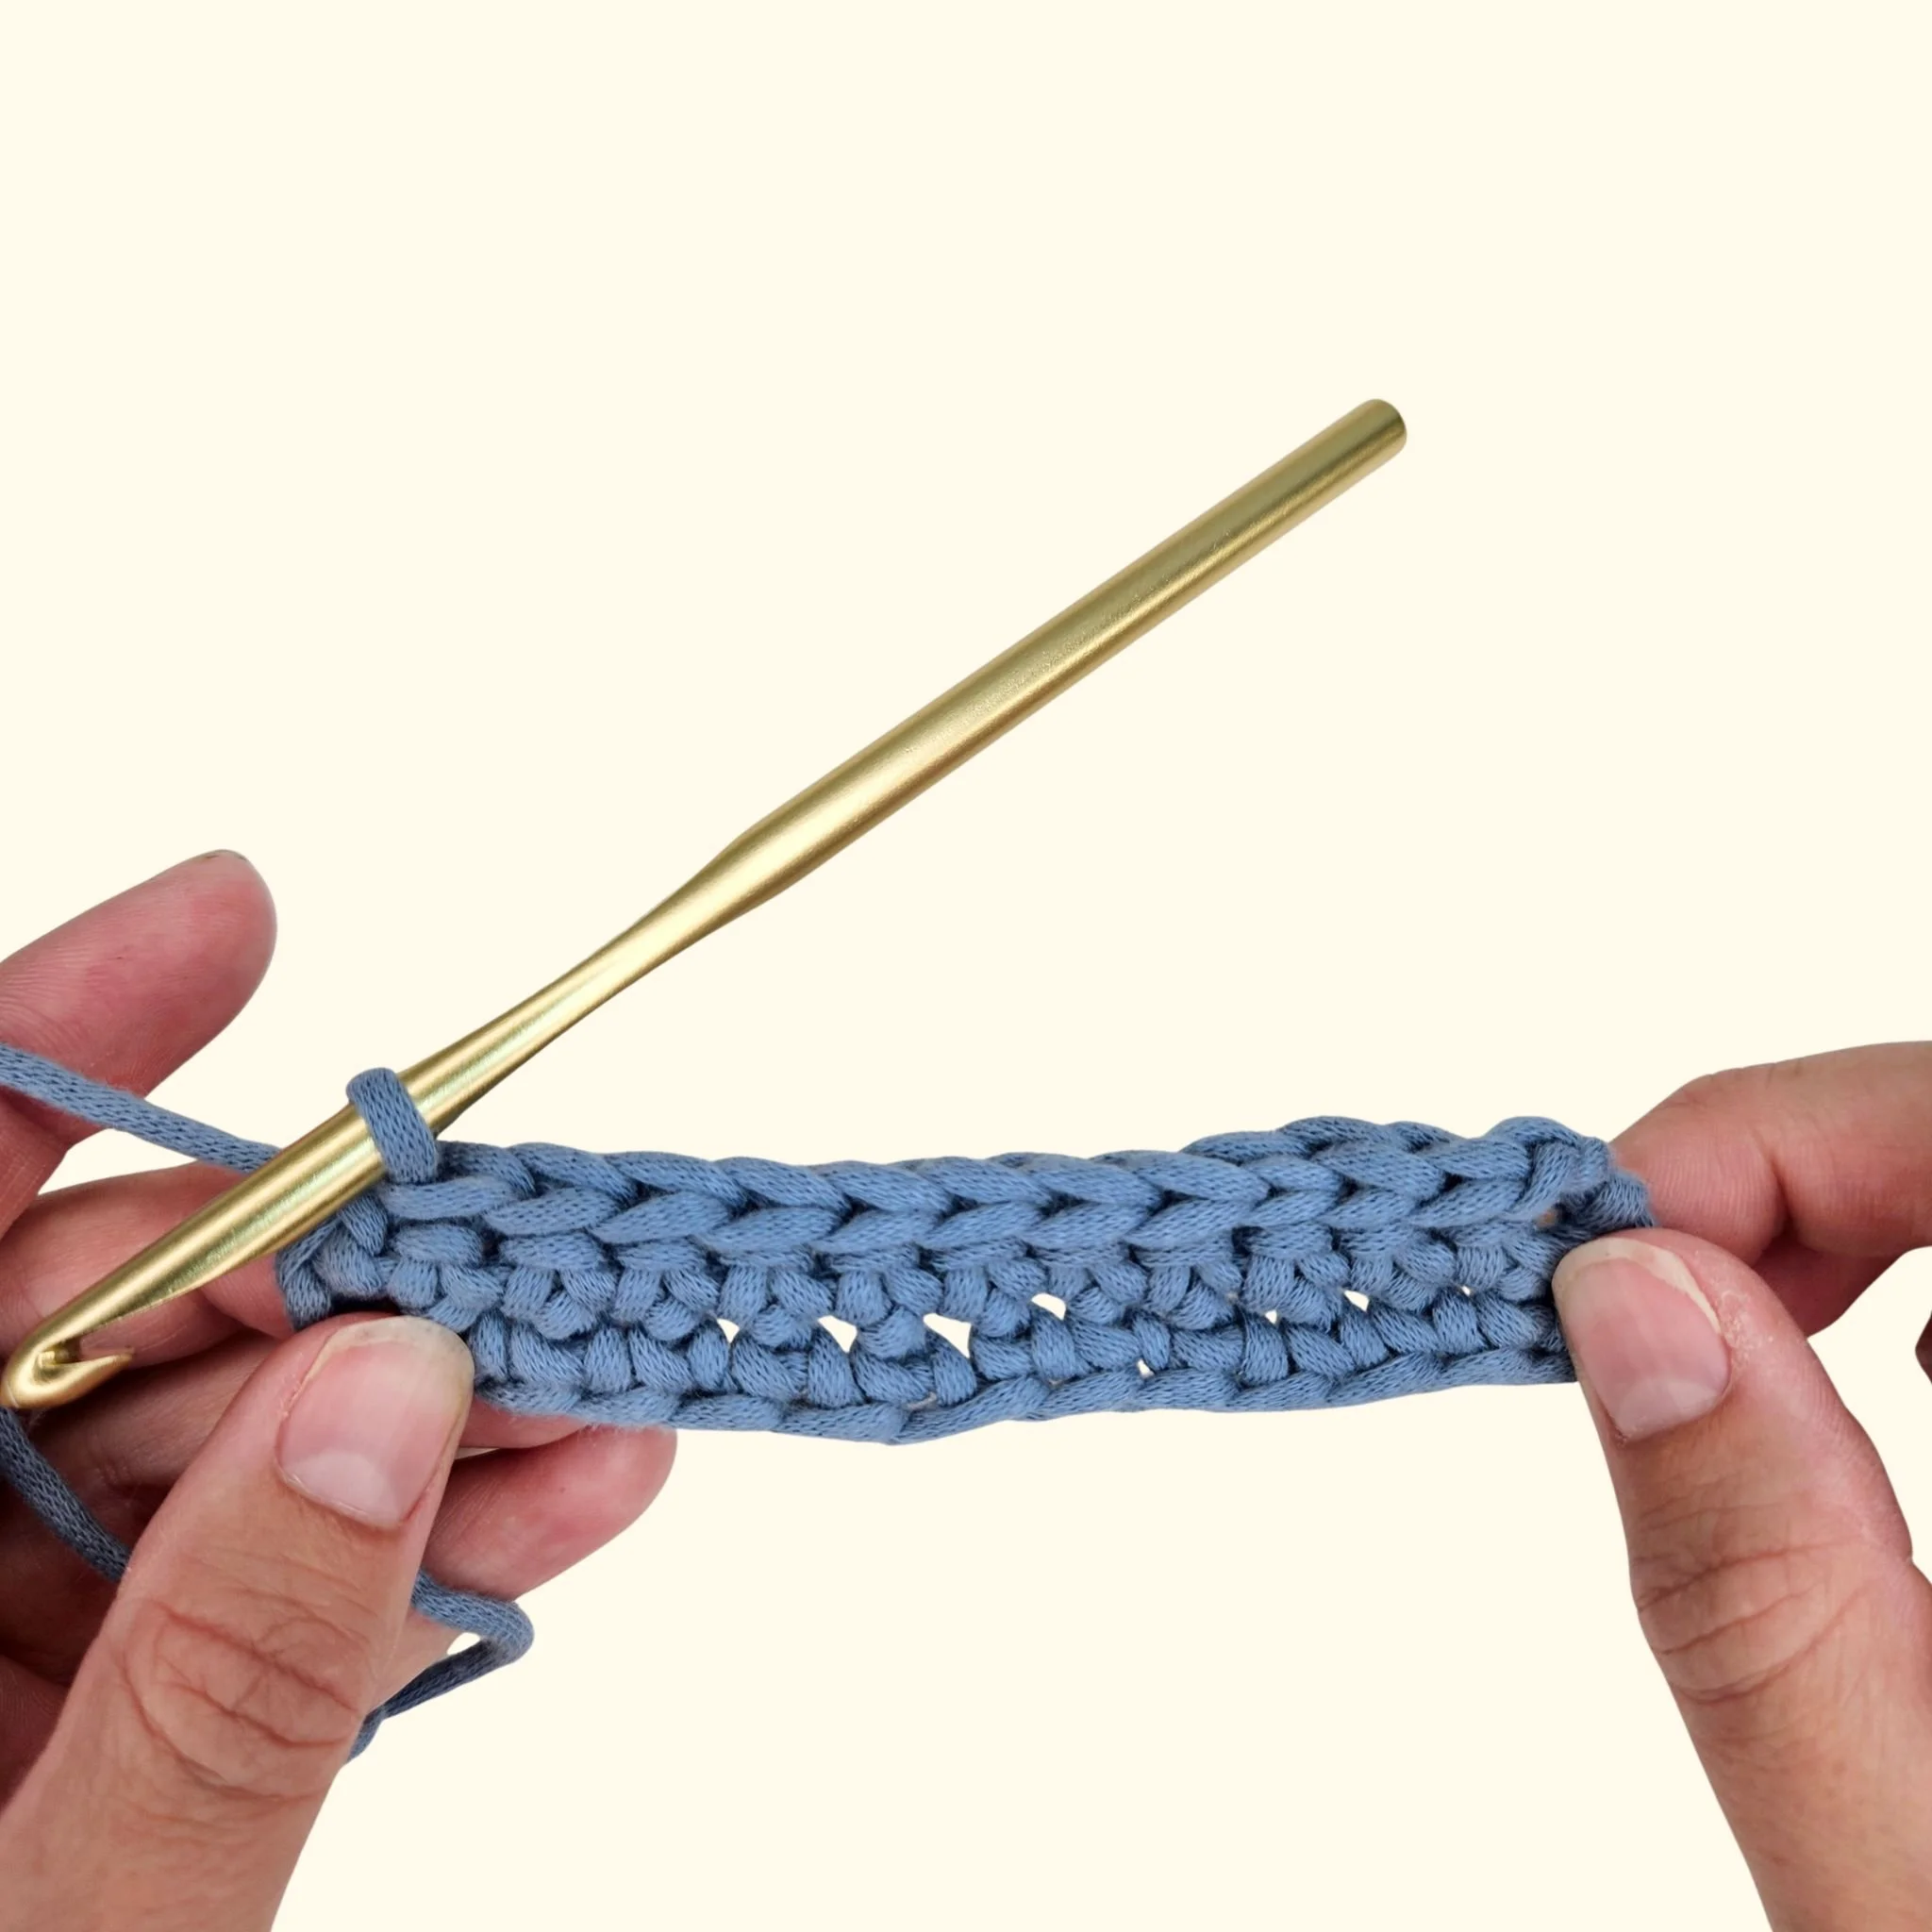
For this lesson, start with a completed row of single crochet stitches.
You'll rarely need to work a slip stitch directly into a foundation chain. Instead, you'll most often use it on existing crochet to join, move across, or add decorative details.
A slip stitch is different from the other foundational stitches because you don't want to create height. The goal is to pull the yarn directly through the stitch and the loop already on your hook in one motion.
How to Crochet a Slip Stitch
Look at the top of your single crochet row. You'll see a series of V-shaped stitches.
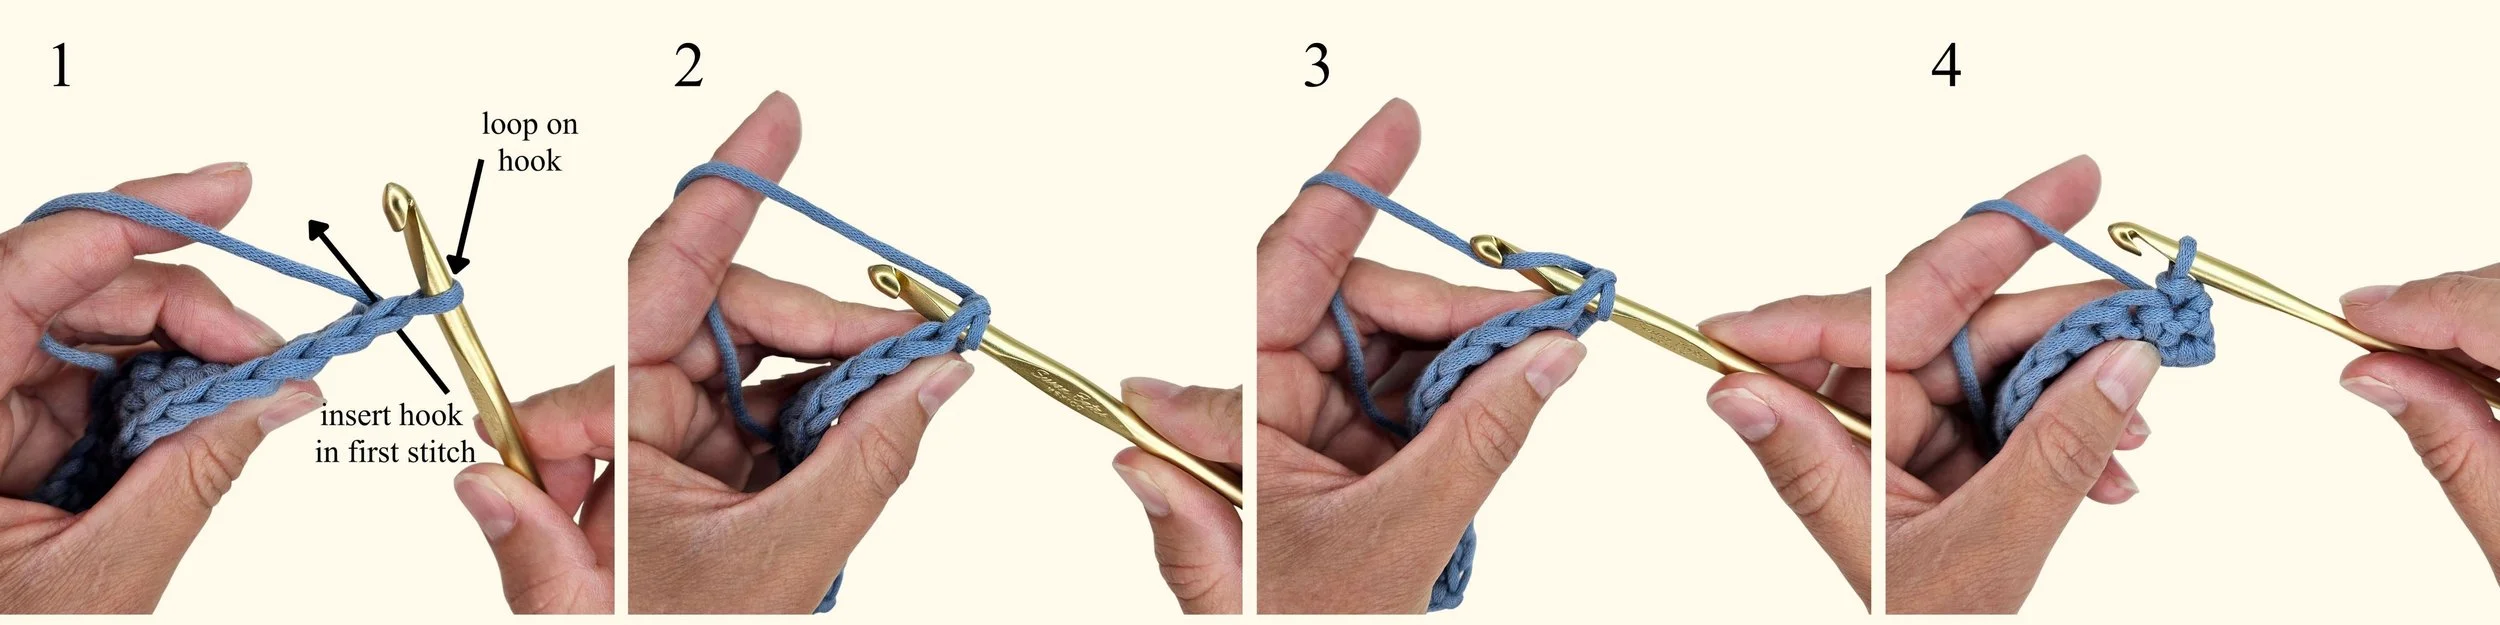
Step 1: Insert Your Hook
Insert your hook under both loops of the V of the stitch where you want to make your slip stitch.
Step 2: Yarn Over
Yarn over back to front.
Step 3: Pull Through the Stitch and the Loop on Your Hook
Pull the yarn through the stitch and continue pulling that same loop through the loop already on your hook.
You now have one loop on your hook, and you've completed a slip stitch.
That's it!
Continue Across the Row
Continue making one slip stitch in each single crochet stitch across the row.
Remember, each stitch follows the same three movements:
Insert your hook
Yarn over
Pull through the stitch and the loop on your hook
Slip stitches are naturally short, so your work will sit much flatter than it did with single crochet.
Using a Slip Stitch to Join
One of the most common uses for a slip stitch is joining crochet together.
For example, you may see a pattern tell you to:
"Join with a slip stitch to the first stitch."
Insert your hook into the specified stitch, yarn over, and pull the yarn through both the stitch and the loop already on your hook.
This creates a small, nearly invisible join.
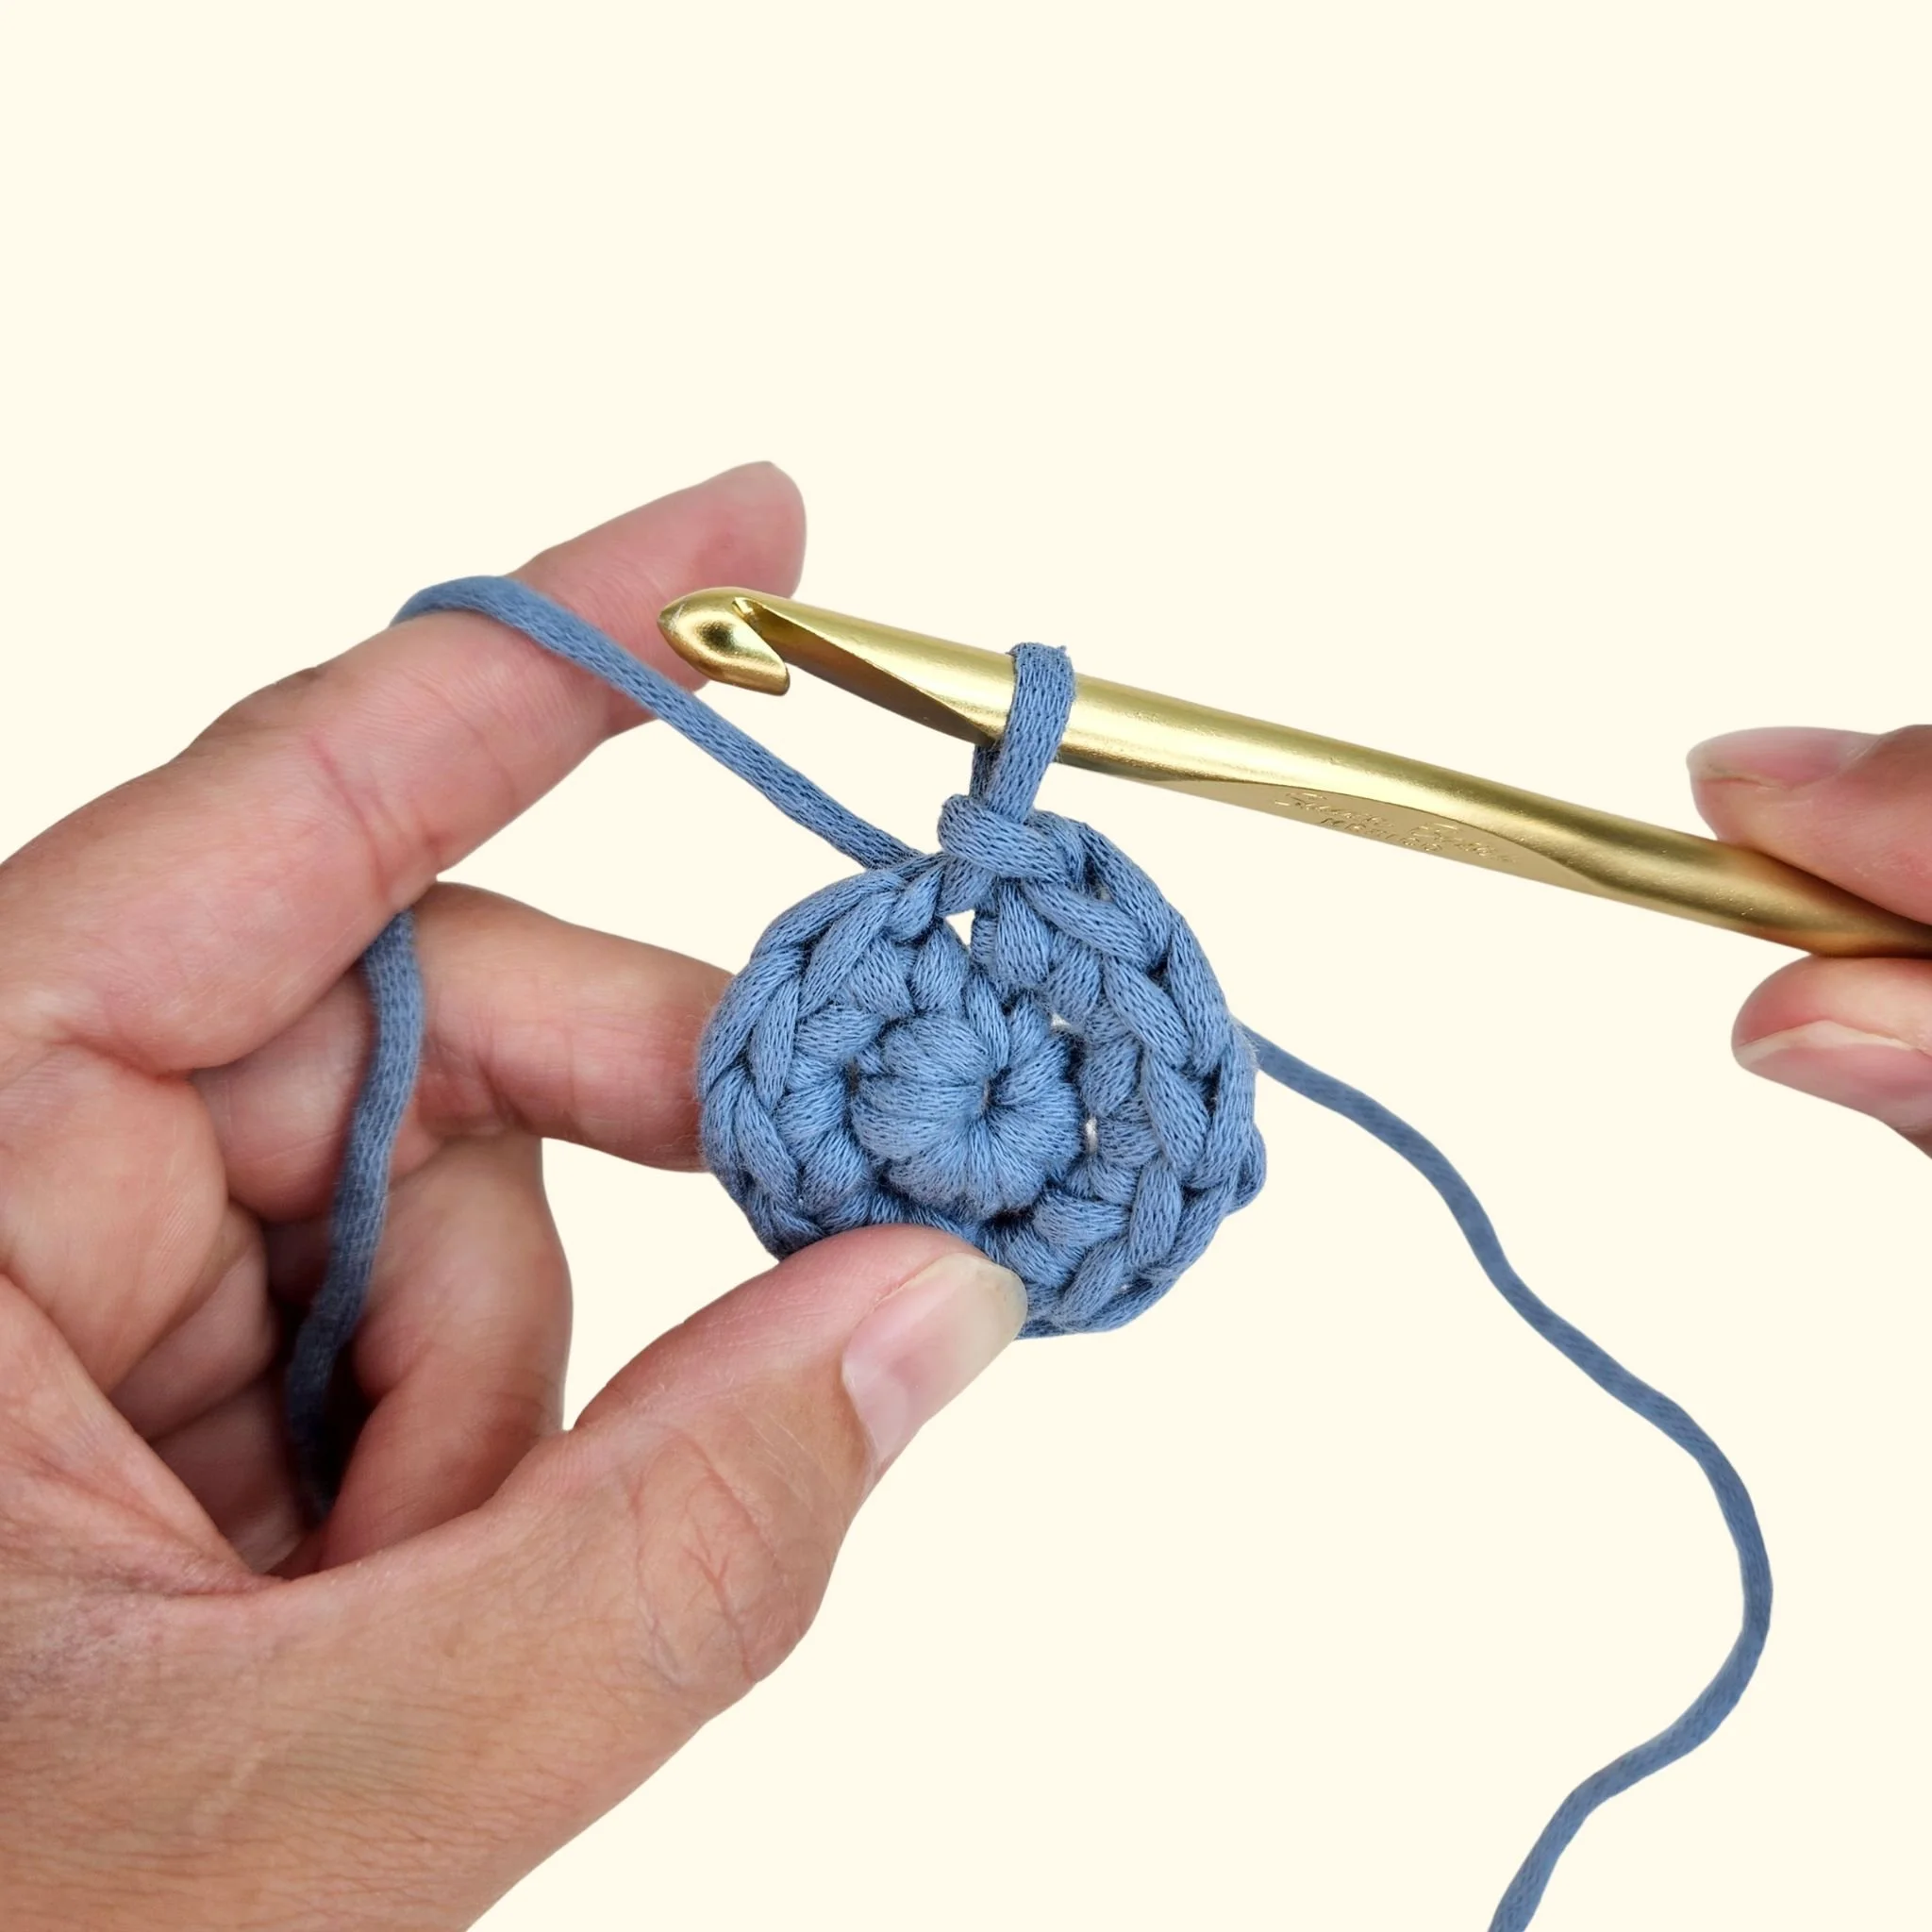
You'll use this technique frequently when working in the round.
Working in the round is a separate skill that we'll cover in more detail in the next level of the Learn to Crochet series.
Other Ways You'll Use Slip Stitches
Slip stitches are useful in many places beyond joining.
Moving Across Your Work
A pattern may tell you to slip stitch across several stitches to move your hook to a different location without adding height.
Joining Crochet Pieces
Slip stitches can be used to join two pieces of crochet together.
Decorative Details
Slip stitches can create outlines, surface designs, borders, and other decorative elements.
Finishing
Slip stitches are sometimes used to secure or finish a section of crochet.
Once you know what a slip stitch looks like, you'll start noticing it throughout crochet patterns.
How to Count Slip Stitches
Slip stitches can be difficult to see because they're so short.
When counting them, look for the small V-shaped stitches along the top of your work.
Don't count the loop on your hook.
If you're working a row of slip stitches, use stitch markers to mark your first and last stitch while you're learning. This makes it much easier to keep track of where your row begins and ends.
Common Beginner Mistakes
I'm Pulling My Slip Stitches Too Tight
This is probably the most common slip stitch problem.
Because slip stitches are so short, it's easy to pull the yarn too tightly. Keep your tension relaxed and make sure your hook can still move comfortably through the next stitch.
My Slip Stitch Looks Like a Chain
That's normal!
Slip stitches are very short and often blend into the stitches around them. That's one of the reasons they're so useful for joining and finishing.
My Slip Stitches Are Getting Taller
Remember, the goal is to pull the yarn directly through the stitch and the loop on your hook.
You shouldn't be building multiple loops or adding extra yarn-over movements like you do with taller stitches.
Slip Stitch Cheat Sheet
Abbreviation: sl st
Turning Chain: Usually none
Starting Foundation Chain to Work Into: First chain from the hook
Fabric Characteristics: Very short, compact, and firm with little to no height
Common Uses: Joining rounds, seaming, edging, surface decoration, and moving across stitches.
Continue Learning
If you're learning crochet on your own, continue with the next lesson in the Learn to Crochet series: How to Fasten off and Weave in Ends.
Taking the email course? Your next lesson and practice assignment will be in your next email.