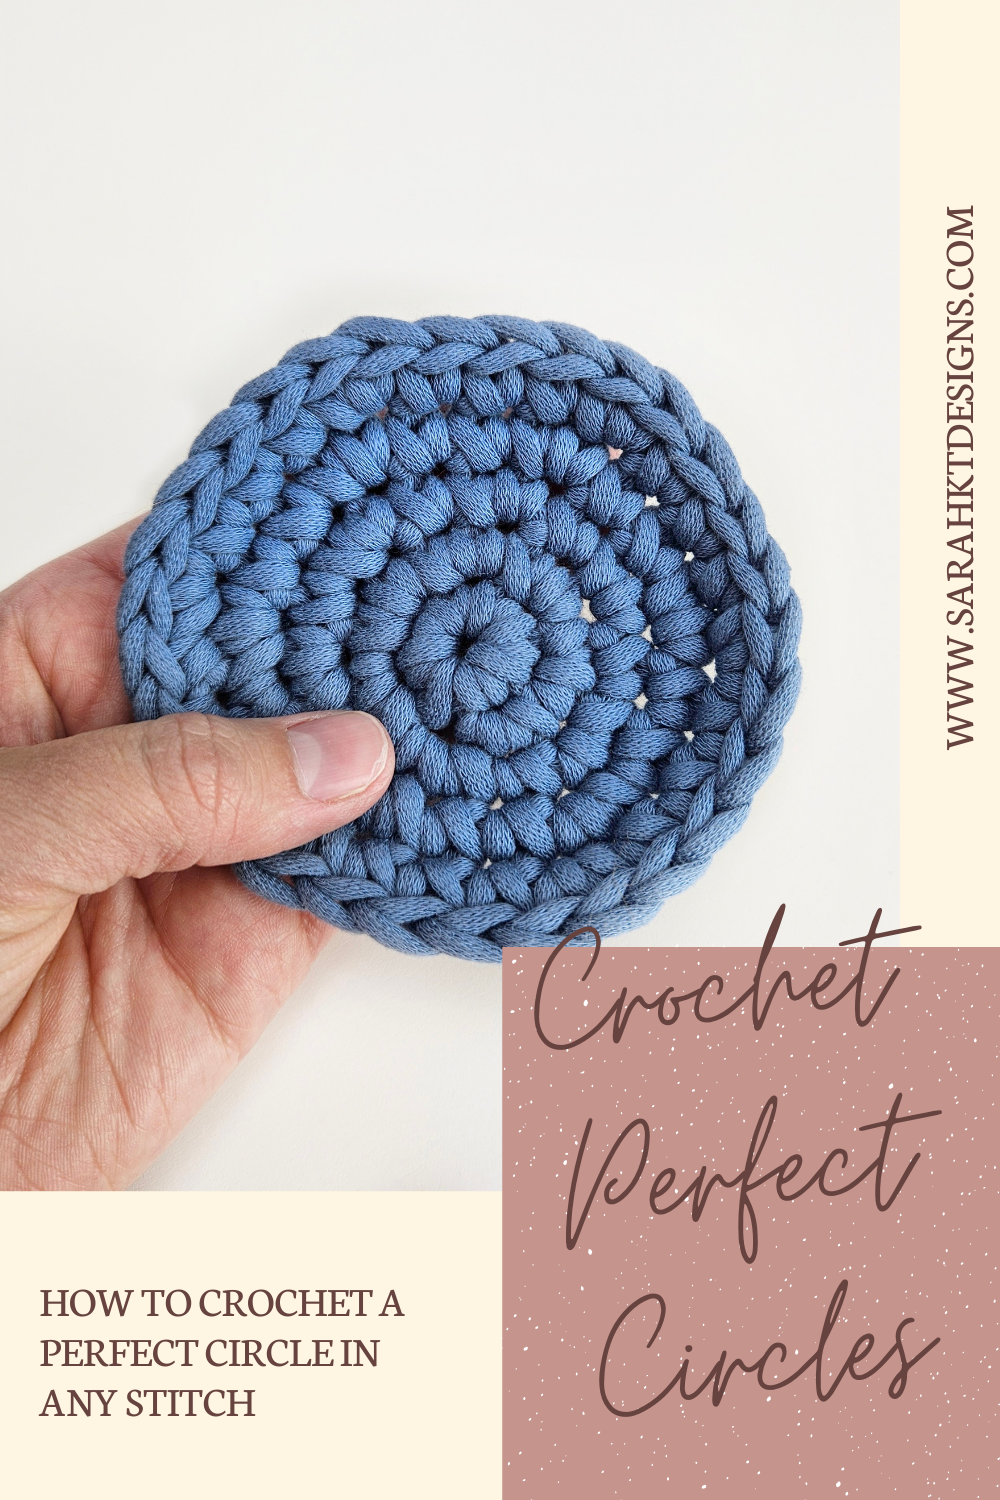
How to Crochet an Even Circle in any Stitch
Mastering the art of crocheting circles is foundational to creating many projects such as beanies and amigurumi. Although it might seem daunting at first, crocheting a circle is an enjoyable and rewarding process. However, there are specific techniques to ensure your circles turn out just right. In this guide, you will learn how to crochet circles using single crochet, half double crochet, and double crochet stitches. Additionally, I'll share a unique hack I developed and have been using for years to ensure your circle edges are perfectly even.
Make sure to PIN this tutorial if you want to save it for later:
Just a heads-up: This blog post may contain affiliate links. Don't worry, though - these links are a win-win! They help support my site without costing you a penny extra. So, if you find something you love, clicking through won't just benefit me and my family, it'll also help you discover great products and resources.
Beginning a Crochet Circle
Let’s begin by making sure you have an understanding of the magic circle technique. All crochet circles start with creating a loop that your first round of crochet stitches will be worked into. Although you can start a crochet circle by chaining 3 and slip stitching into the first chain to create a loop, this method isn't ideal. The issue lies in the unavoidable hole that forms at the center of your work, regardless of your efforts. For projects like amigurumi (small, stuffed, 3D yarn creatures), this hole poses a risk of stuffing material leaking out.
I've created an easy-to-follow tutorial with a video demonstrating how to create a magic circle. Check it out here!
The First Round of a Crochet Circle
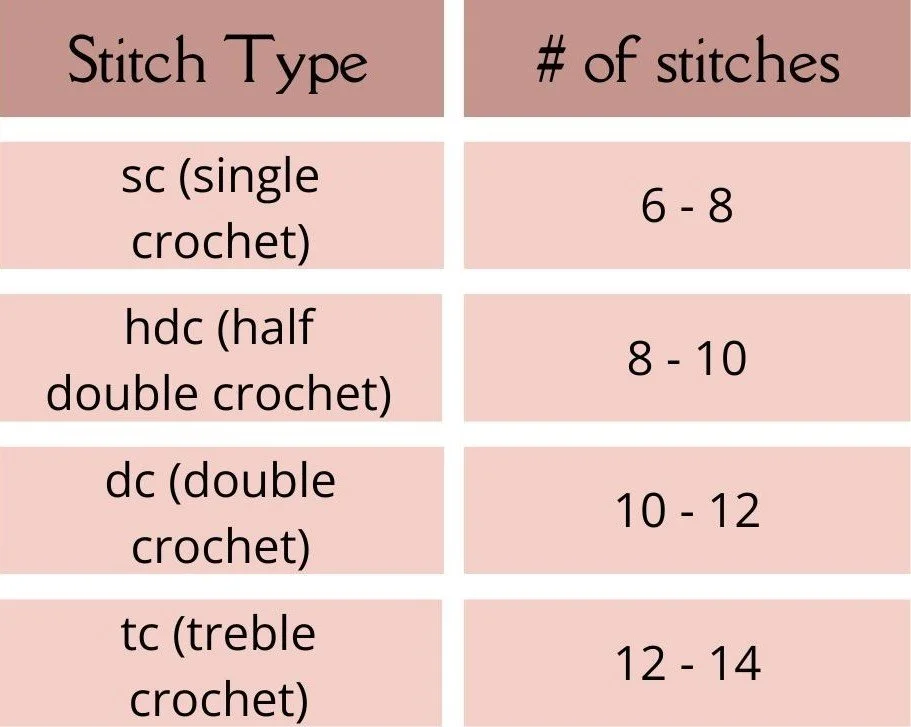
The number of stitches in the first round of a crochet circle depends on two factors: the type of stitch used and the weight of the yarn. Generally, thicker yarns require fewer stitches to form a circle. Additionally, since crochet stitches vary in height (e.g., a double crochet stitch is taller than a single crochet stitch), you'll need more stitches to complete a circle with taller stitches. For instance, a single crochet stitch produces a smaller circle compared to a double crochet stitch, necessitating fewer stitches to complete the circle's perimeter.
Below is a handy chart listing the number of stitches required for each type of basic crochet stitch to complete a circle:
The Second Round of a Crochet Circle
After determining the number of stitches needed for the first round, the subsequent rounds become straightforward. In the second round of a crochet circle, simply double the number of stitches by working increases (two stitches into the same stitch) in each stitch around.
This also means that the number of stitches you chose for the first round determines the number of increases for each subsequent round. For instance, if you begin with 6 single crochet stitches, each round will increase by 6 stitches.
The Third Round of a Crochet Cirlce
In the third round of a crochet circle, you will work one stitch, followed by an increase (two stitches in the same stitch) and repeat this pattern around.
With each subsequent round, the number of stitches between increases increases by one. For example, in round four, you would work 2 stitches followed by an increase and repeat this pattern around. In round five, you would work 3 stitches followed by an increase and repeat this pattern around, and so forth for subsequent rounds.
Crochet Circle Pattern
To understand what this looks like written out as a pattern, let's use single crochet stitches and start with 6 stitches in the first round of the circle:
Rnd 1: make a magic circle, sc 6 times in magic circle, pull to close, sl st in first sc, ch 1 (6 sts)
Rnd 2: sc 2 times in each st around, sl st in first sc, ch 1 (12 sts)
Rnd 3: *sc in next st, sc 2 times in next st* rep around, sl st in first sc, ch 1 (18 sts)
Rnd 4: *sc in next 2 sts, sc 2 times in next st* rep around, sl st in first sc, ch 1 (24 sts)
Rnd 5: *sc in next 3 sts, sc 2 times in next st* rep around, sl st in first sc, ch 1 (30 sts)
Rnd 6: *sc in next 4 sts, sc 2 times in next st* rep around, sl st in first sc, ch 1 (36 sts)
Rnd 7: *sc in next 5 sts, sc 2 times in next st* rep around, sl st in first sc, ch 1 (42 sts)
Rnd 8: *sc in next 6 sts, sc 2 times in next st* rep around, sl st in first sc, ch 1 (48 sts)
Rnd 9: *sc in next 7 sts, sc 2 times in next st* rep around, sl st in first sc, ch 1 (54 sts)
Rnd 10: *sc in next 8 sts, sc 2 times in next st* rep around, sl st in first sc, ch 1 (60 sts)
(all abbreviations are US crochet terms from the Craft Yarn Council)
You've got the concept! This general pattern can be adapted to any stitch by simply replacing the 'sc' with your chosen stitch and adjusting the stitch counts to match the number of stitches your circle starts with. Remember to adjust the number of turning chains at the end of each round as well. For single crochet, you'll need 1 turning chain, for half double crochet, use 2, for double crochet, use 3, and for treble crochet, use 4.
Note that in some patterns “sc 2 times in next st” is replaced with “inc.” This is fine, as long as “inc.” is clearly defined in the notes or stitch abbreviations section of the pattern.
How to Crochet an Even Circle
While this general pattern provides a straightforward way to learn and grasp the concept of crocheting circles in any stitch, it does come with limitations. In this pattern, all increases are made in the same location in each round, causing them to stack on top of each other. This stacking creates a noticeable 'bump' on the outside of your circle at each increase location (see picture below)
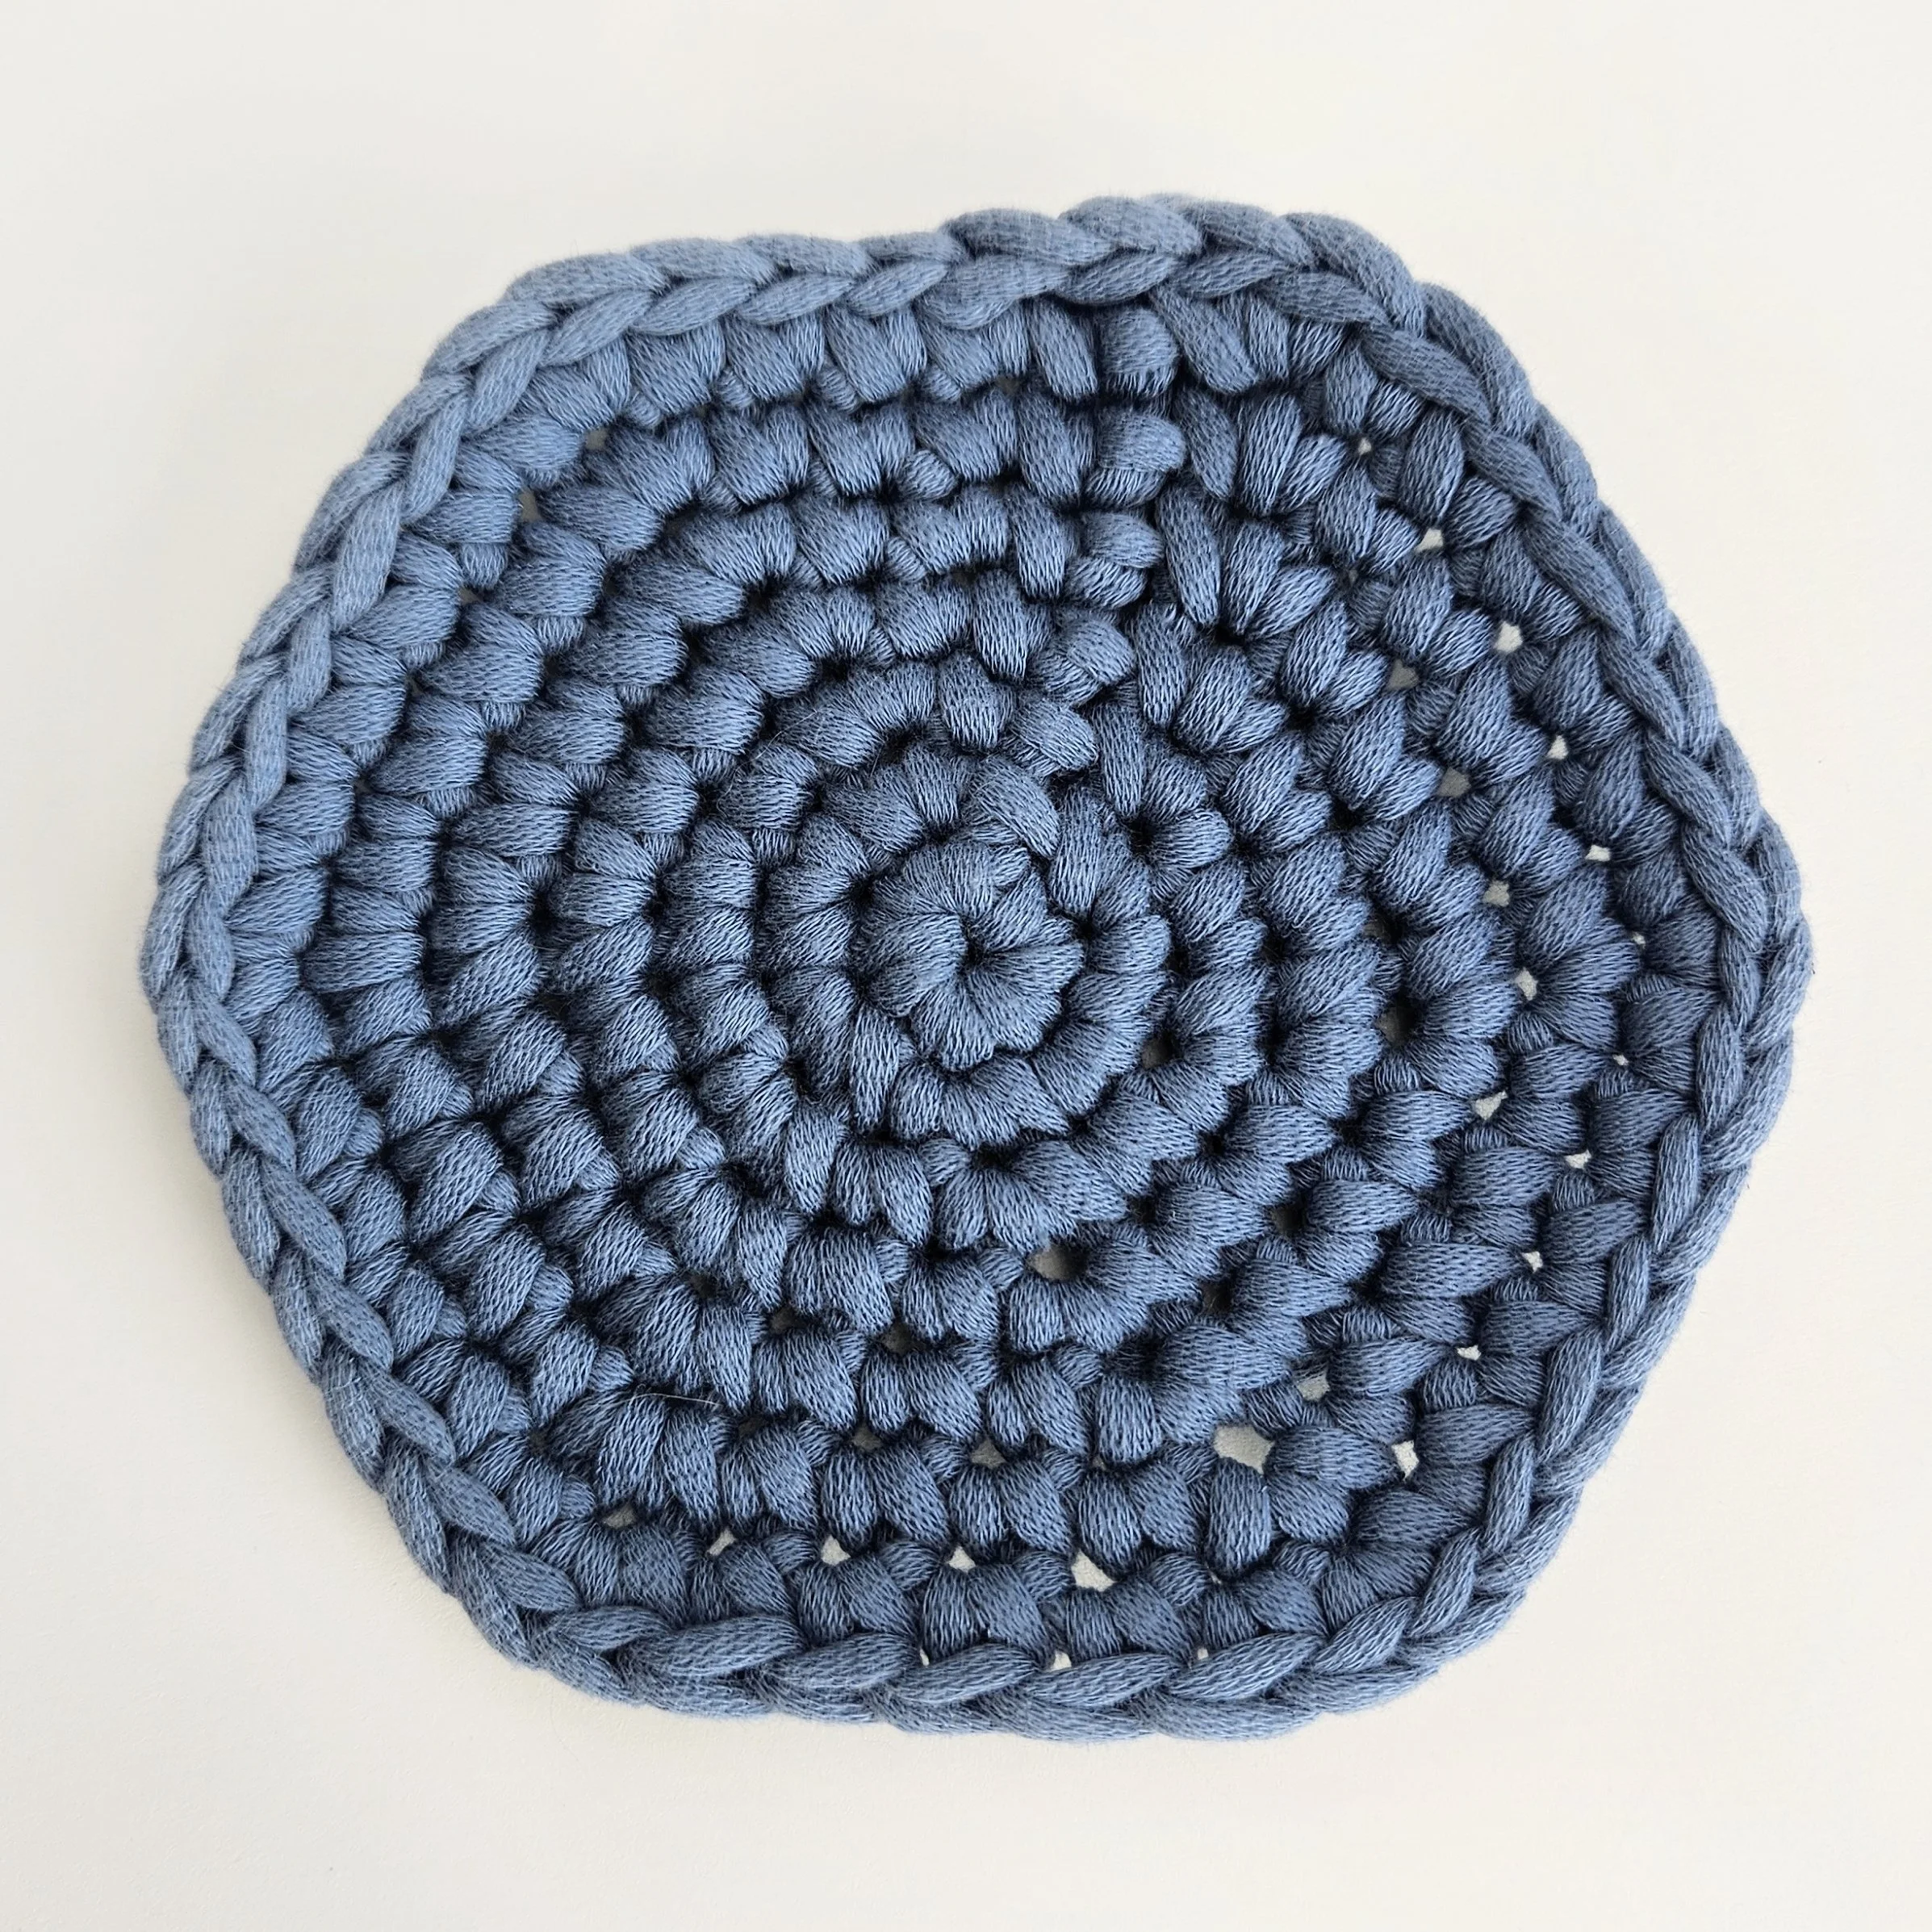
Fortunately, there's a simple solution to the issue of bumpy, uneven circles: varying your increases. To avoid stacking increases on top of each other, ensure that the increases of the current round are not placed directly above those from the previous round.
For example, if you are creating a single crochet circle and started with 6 single crochets in the first round, and now you're on round 7 with 5 stitches between each increase, begin round 7 with 3 stitches instead of 5 before the first increase. Then, continue with 5 stitches and an increase as usual around the circle. Since you started with 3 stitches instead of the full 5, you will have 2 stitches left unworked at the end of the round. Simply single crochet into each of these stitches to complete the group of 5 needed between each increase.
The key is to ensure that your increases are not worked directly on top of the increases from the previous round. You can adjust the number of initial stitches as needed, as long as the increases are spaced out properly for the round.
Here is what this would look like written out as a pattern:
Rnd 1: make a magic circle, sc 6 times in magic circle, pull to close, sl st in first sc, ch 1 (6 sts)
Rnd 2: sc 2 times in each st around, sl st in first sc, ch 1 (12 sts)
Rnd 3: *sc in next st, sc 2 times in next st* rep around, sl st in first sc, ch 1 (18 sts)
Rnd 4: *sc in next 2 sts, sc 2 times in next st* rep around, sl st in first sc, ch 1 (24 sts)
Rnd 5: sc, sc 2 times in next st, *sc in next 3 sts, sc 2 times in next st* rep around, sc in last 2 sts, sl st in first sc, ch 1 (30 sts)
Rnd 6: sc in next 3 sts, sc 2 times in next st, *sc in next 4 sts, sc 2 times in next st* rep around, sc in last st, sl st in first sc, ch 1 (36 sts)
Rnd 7: sc, sc 2 times in next st, *sc in next 5 sts, sc 2 times in next st* rep around, sc in last 4 sts, sl st in first sc, ch 1 (42 sts)
Rnd 8: sc in next 4 sts, sc 2 times in next st, *sc in next 6 sts, sc 2 times in next st* rep around, sc in last 2 sts, sl st in first sc, ch 1 (48 sts)
Rnd 9: sc in next 2 sts, sc 2 times in next st, *sc in next 7 sts, sc 2 times in next st* rep around, sc in last 5 sts, sl st in first sc, ch 1 (54 sts)
Rnd 10: sc in next 5 sts, sc 2 times in next st, *sc in next 8 sts, sc 2 times in next st* rep around, sc in last 3 sts, sl st in first sc, ch 1 (60 sts)
(all abbreviations are US crochet terms from the Craft Yarn Council)
Writing a pattern for a circle using the method described above is much more complex than necessary. Additionally, the number of stitches worked before the first increase of each round is arbitrary. For this reason, many designers, myself included, often simplify circle patterns by stacking increases on top of each other. However, it's important to remember that you do not have to follow a pattern exactly as written. Armed with this new knowledge, you can create an even circle, even when a pattern does not give specific instructions to do so.
How to Crochet an Even Circle in any Stitch Video Tutorial
For those who prefer visual demonstrations, I've created a video tutorial on YouTube for crochet circles
Beginner Crochet Circle Patterns
If you're eager to put all the lessons from this tutorial into practice, I've got just the thing for you: a free pattern for a Flower Purse that's perfect for beginners
